

A place that works with you
Post Frame Workshop Layout & Interior Planning Guide
A workshop becomes useful when the room supports the work. Bench placement, material storage, door access, lighting, and utilities all influence how comfortably a project moves from arrival to completion. Use this guide to organize those decisions before choosing finishes or filling the walls with storage.
Made for: Homeowners and property owners planning a hobby shop, vehicle workspace, or mixed storage and project building.
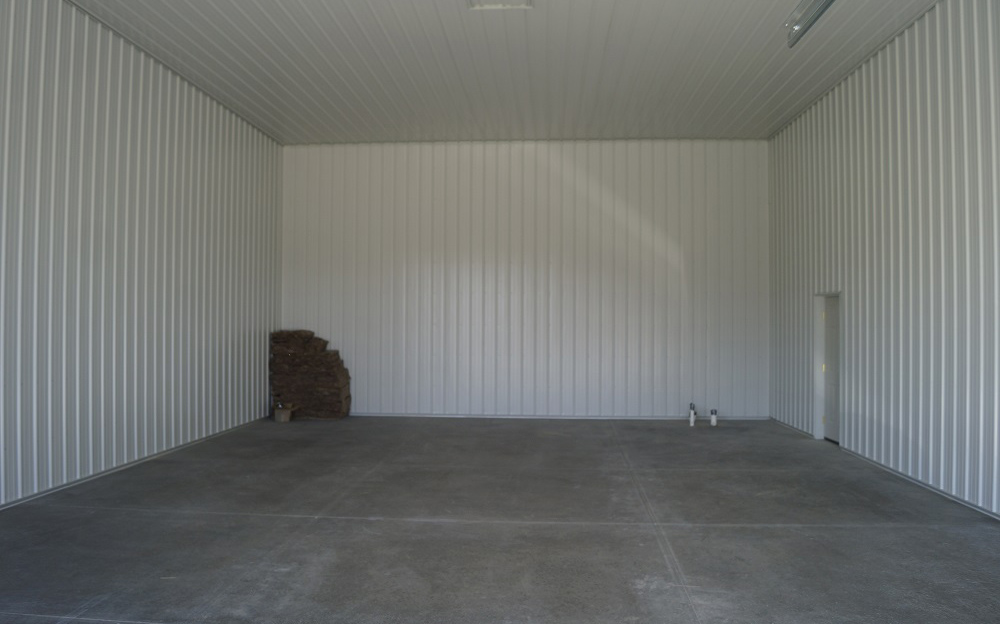
Start here. Plan the work sequence first: bring materials in, store them, work on them, and move the finished project out.
01 / WORKSHOP PLANNINGDescribe the work instead of naming a building size
List the projects you actually expect to do. Vehicle care, woodworking, equipment repair, and general household projects place different demands on a room. Identify the tools used regularly, the largest materials you handle, and the longest project likely to stay in progress. Include any activities you want to keep separate because of dust, noise, mess, or access.
Then describe a normal visit to the shop. Where do you enter, where do supplies land, and what do you reach for first? Those details reveal priorities that an exterior sketch cannot show. Our article on building a better workshop introduces several practical considerations, while this guide helps you organize them into a complete interior planning conversation.
02 / WORKSHOP PLANNINGCreate zones that reflect the project sequence
Draw a receiving or unloading area near the relevant door, then place material storage where it can be reached without crossing the main work zone. Locate benches and tools around the work they support. Add room for an unfinished project so it does not automatically block the driving lane or the only convenient entrance. The plan should accommodate work that takes more than one afternoon.
Mixed use buildings need especially clear zones. Parking and project space may share the same room, but neither should depend on the other being empty all the time. Test whether a parked vehicle prevents access to the workbench, whether long materials can move through the room, and whether a helper can enter without crossing an active tool area. Adjust the layout before solving the problem with extra shelving.
03 / WORKSHOP PLANNINGGive tools their working envelope
A tool’s storage footprint is only part of its space requirement. Materials may need room to enter and leave the tool, while the operator needs a stable working position and access to controls. Review the manufacturer’s clearances and installation requirements for the specific equipment you expect to use. Use those details when laying out the work area rather than treating every tool as a small rectangle.
Large or heavy equipment may also affect the floor, electrical system, overhead clearance, and building design. Tell the builder about lifts, suspended equipment, tall racks, or other special installations before the design is finalized. Do not assume an ordinary floor or roof framing can accept them. The MQS construction overview provides background, while your project team develops the requirements for the actual equipment.
04 / WORKSHOP PLANNINGPlace storage around access, not leftover walls
Group materials by how often they are used and how difficult they are to move. Everyday tools belong near the work they support. Bulky seasonal items can occupy less convenient space if they remain accessible when needed. Long stock, sheet materials, and heavy components need a planned route from delivery to storage to the work area.
Avoid filling every available wall before accounting for doors, windows, electrical equipment, and future interior changes. Storage depth also reduces the usable room between opposing walls. Sketch shelving at its intended depth and check the remaining path with a vehicle or project in place. The MQS options page can help you consider interior and exterior features as coordinated choices.
05 / WORKSHOP PLANNINGPlan light for the bench and the room
Identify the surfaces where you need to see detail, then explain those tasks to the lighting contractor. General room lighting and focused bench lighting have different jobs. Consider shadows created by open doors, vehicles, tall shelving, or your own position at the bench. A bright photograph of an empty building does not show how the finished work area will perform.
Windows can contribute daylight and a view, but they also occupy wall space you may want for storage or tools. Decide where each matters most. Review the door and window selection article when comparing placements. Coordinate the final openings with the interior layout so useful wall space and comfortable light are considered together.
06 / WORKSHOP PLANNINGCoordinate power, ventilation, and comfort
Give the appropriate contractors a list of actual equipment, anticipated operating locations, and any tools likely to run together. Include charging, lighting, dust collection, heating or cooling, and other systems you intend to use. That gives the electrical planning conversation a real basis. Repeated extension cords are often a sign that the layout and service locations were not considered together.
Activities that create dust, fumes, or other contaminants need an appropriate control approach designed for the activity. General building ventilation is a different question from collecting contaminants at a tool or work station. Similarly, insulation, air sealing, moisture management, and temperature control should be coordinated rather than selected independently. Use the MQS FAQs to prepare questions about interior finishing options.
07 / WORKSHOP PLANNINGChoose floors and finishes for the intended work
Describe expected vehicles, equipment, spills, cleaning methods, and desired finishes before choosing the floor system. Concentrated equipment loads, lift anchors, drains, and coating plans can introduce specific requirements. Ask who is designing and providing each component, and confirm how the work is sequenced with utilities and the building shell.
Interior lining should also follow the use. Consider how tools will be mounted, where surfaces need cleaning, and how services will remain accessible. A finished appearance does not by itself establish that a wall can carry a particular load. Keep equipment mounting and storage needs on the design list. The garage and hobby shop gallery provides visual references for discussing different arrangements.
08 / WORKSHOP PLANNINGMake a phased finish plan that still works now
If the shop will be completed in stages, define a usable first phase. Decide which services must be installed early and which finishes can wait. A later ceiling, partition, or insulated area can affect today’s lighting, door hardware, and utility placement. Explain those future plans before the shell is finalized so the project team can identify conflicts.
Keep the future scope specific. A planned workbench wall is easier to accommodate than an undefined instruction to leave room for anything. Bring MQS a layout showing the current phase, likely later changes, equipment needs, and the activities you want to keep separate. Our construction planning article is a useful companion for organizing the tasks and responsibilities beyond the building itself.
09 / WORKSHOP PLANNINGWalk one project through the proposed room
Choose a typical project and describe every move. Materials arrive, wait in storage, reach the bench or tool, become an unfinished project, and eventually leave the building. Mark those movements on the sketch. If the same item crosses the driving lane repeatedly or needs a parked vehicle moved each time, consider whether a different zone arrangement would reduce the friction.
Then test a larger or messier project. Where will it remain overnight, and can the shop still be used around it? This exercise does not require a sophisticated drawing. It requires an honest view of the activities, including cleanup and temporary storage, that tend to disappear when the room is imagined as a permanently empty space.
10 / WORKSHOP PLANNINGCompare an open room with a defined work area
An open layout may suit equipment movement and changing projects. A more defined work area may support organized tools or a different comfort plan. Compare the options using the same tasks, not just appearance. Consider how partitions affect long materials, sightlines, services, lighting, and movement between storage and work.
A separate room also introduces design questions about its intended use and systems. Ask the appropriate project professionals how it would be built and serviced rather than adding walls to a sketch and assuming the remaining decisions are minor. If the room is planned for a later phase, identify which choices in the original shell need coordination now.
11 / WORKSHOP PLANNINGUse a clear scope sheet for the finished shop
List the shell, floor, electrical work, lighting, interior lining, storage, equipment installation, and any comfort or ventilation systems separately. Mark the responsible provider for each item. Identify which work is included in the current request and which will be purchased or completed later. This is particularly useful when a building quote and a finished workshop budget are different scopes.
Keep equipment information attached to that sheet so no one has to infer the use from a room name. Ask how changes will be communicated if a tool or layout is revised. A coordinated scope gives MQS and the other contractors a common description of the intended result while keeping the decisions for specialized equipment with the right professionals.
| Zone | Include in the sketch | Design question |
|---|---|---|
| Arrival | Delivery and unloading route | Can long materials enter easily? |
| Work | Tools, operator, and project envelope | What must remain clear? |
| Storage | Actual shelf depth and handling room | Can supplies move without shuffling vehicles? |
| Services | Power, lighting, and equipment connections | Which requirements need contractor review? |
| Future phase | Defined later finishes or rooms | What should be coordinated now? |
Your planning checklist
- List the projects and equipment the shop must support.
- Draw the route from unloading to storage to work.
- Check manufacturer requirements for major equipment.
- Coordinate service locations with the actual layout.
- Define a useful first phase and specific later improvements.
Your next step
Bring your workshop routine into the design
Tell MQS about the equipment, projects, and work zones you want your new building to support.